Pinterest was slightly annoying when I first saw the site come up from a search. Tracking back to the original post wasn't always the easiest task, but I learned. It helped to not have too many expectations. Occasionally I'd find just what I was looking for. Recently I've seen opinions hating on pinterest and calling out the almighty copyright infringement. I believe everyone should be given credit for their hard work and presentation. That said I don't think half of those ideals are original never seen before totally brand new concepts.
Copyright is a legal right created by the law of a country, that grants the creator of an original work exclusive rights
to its use and distribution, usually for a limited time, with the
intention of enabling the creator (e.g. the photographer of a photograph
or the author of a book) to receive compensation for their intellectual
effort. - Wikipedia
I think the internet changes things a bit. Books and magazines can be accessed online but do blogs really rank the same? Back when I was a chat maven we went by the rule don't post any picture online you didn't want your boy/girl friend, family , or boss to have access too. I know I found a few of my pics in locations I never intended them to be. Some where posted my an ex who posed as me to get other pics. At the time there wasn't much recourse to do anything about it. When it comes to a blog shouldn't the same be true. I use my blog as a person record of projects and share with the intent that others gain some pleasure in the craft. I think any pattern can be altered enough to escape copyright and I often make improvements that I share of free patterns. Would I purchase a pattern and post it to my blog, NO. But if you've posted a 'free' pattern on your publicly accessed site how can you complain when someone uses that information. I have yet to have a problem with anyone complaining to me that I've posted something they claim. I try my best to give proper credit and post links to the creators site when they are available. I see it as advertising for the page and possibly the rest of your site. So previously I had only mild concerns about pinterest and those that whined about appearing there. And now they want you to sign in. Create an account to see the others. I have a junk email address. It wouldn't kill me to setup an account. Will I? No. I understand that the controversy has demanded that they protect themselves with a terms of use contract but I'm a little more anal with data mining then I used to be. And I don't want to sign into a site that is most likely tracking every board I bring up and linking it to my email address when I can find those links though a search anyway. So now it's annoying that when I search and switch to the images many of them are pinterest links. When looking for inspiration it isn't so bad. I don't usually go farther than the image anyway. When looking for a pattern or specific information it gets on my nerves. So I now have a little saved wordpad doc on the desktop. Before I search I copy and paste it after my key words.
-etsy.com -aliexpress.com -dhgate.com -craftsy.com -wanelo.com -artfire.com -ebay.com -pinterest.com
There is nothing wrong with the sites above. They provide patterns and handmade products and are free to browse and can provide excellent inspiration. I do find myself on them often. They just aren't what I'm looking for the majority of the time. You can use the same format to exclude any domain from a search in most engines. Google has an extension called Personal Blocklist but it's available only while using Chrome, to my knowledge. While I have 3 browsers on this pc, Chrome being one, it isn't the browser I use for crafting ideals or my blog. Although I have to say I prefer Chrome most of the time. Its syncing with my tablet has improved greatly and I find it extremely useful and often use Drive. I suppose a program to better manage my bookmarks would eliminate the need for multiple browsers to separate activities, but for now it's just easier this way.
Pinterest is added to the list and I hope this helps anyone else who feels they don't want or need the link to links. IF Pinterest had a definite link to the original post instead of everyone who has re pinned it, I might be interested enough to sign up. Maybe. I can't see me signing in every time I search so that's a cookie I'd have to except. Not likely but possible. :)
Friday, November 7, 2014
Monday, November 3, 2014
Crochet Ocean Wave Applique
I posted my ocean wave applique pic on my beach bag post. The only thing I could find online was a cross stitch chart for similar waves. So I'm posting the pattern in hopes that someone else will find a use for it or the technique.
First you should understand how to make foundation stitchs. Not chains, fdsc (foundation single crochet), fddc, and fdtrp. Same concept really but if the ideal confuses you it would be best if you found a video on foundation stitches to explain. Next an extended stitch is an added ch before the last pull through 2 in made.
Exp. ext sc: insert hook into stitch, yo, pull up a loop...pause. last two loops on hook. yo pull through 1 loop (or chain 1) yo pull though 2 remaining loops on hook. It worked the same for dc or trp
Last item is the magic circle. There are videos on that too.
Large exp. G hook, worsted weight yarn 3 1/4"h x 3 3/4"w
Small exp. 2.00mm steel hook, 10 strand emb floss 1/3/4"h x 1 5/8"w
Magic Circle
3sc, 1 dc in circle
ch1, fdhdc (tighten circle), fdsc, ch1, fdextsc, fdextsc, ch1, fddc, fddc, fddc using same base stitch as previous st (omit found loop-like dc twice in same stitch), ch1, fddc, fdextdc, fdtrp, fdtrp, fdexttrp
row1: 5 sc spaced evenly across end of last fdexttrp, ch1, turn (5)
row2: 2 sc in first st, sc in next 3 st, 2 sc in last st , ch 2, turn (7)
row3: 2 sc in first st, sc in next 5 st, 2 sc in last st, ch2, turn, slst in first st. FO (9 +slst)
Crochet Hot Pad Cover - Gel Pack
With the arm thing aching I was given a pouch of blue goo that you could heat in the microwave. Originally it was wrapped in a hand towel. It slipped and slid about. I was still in denial my affliction could possibly have anything to do with crochet. Since I was too cold by the window where my computer sits, I dragged my yarn out and made a cover for the lovey hot bag of goo. (I had another one to freeze too)


I'd say this was specifically designed for the neck but it worked really well on my arm. I pulled one handle through the other and tucked it to keep it in place. Probly work as well that way on an ankle or knee. And you could always lay it flat. I didn't see much more then flat covers so I made my own.
I recommend using this pattern as a guide rather then set in stone directions. You could alter the design to fit any number of commercial gel packs or electric pads. The yarn I used was an old remnant of something between dk and worsted weight. The gauge is in the pattern but if your using Redheart #4 yarn you may have to go down a hook, depending on your tension or expect a slightly larger finished product. Not that much difference, but I'm giving exact measurements for my item. Just keep in mind no two projects will ever measure the same. I'd also like to say that I looked into heat transfer of materials. NOT direct heat as we all know acrylic melts. But thermal conductivity (Here is a chart if your curious) Air (gases) and insulation are low 0.035 - 0.024 while metals like aluminum are high 205.
Acrylic 0.2
Cotton 0.04
Cotton Wool 0.029
Wool, felt 0.07
So why does acrylic melt before cotton? Because it transfers heat faster. Annnnd it's a heating pad. So we want heat to easily move through it. Cleaning? Cotton is more absorbent so I think body oils (sweat) and stuff like Bengay with get in and stay in the piece. Where as acrylic with resist more stains. Am I worried that my heating cover will pill after repeated washings and look totally horrible? Um no. If when that happens I'll make another one. I was totally set to remake this in cotton until I looked into it. Everyone is so 'hot' to tell you certain things MUST be made in cotton. Make what you like and use what ya got.
Gel Pack Cover
H hook
worsted weight (acrylic! no really use what you like) yarn
2 buttons (or closure of your choice. my buttons were crochet from same yarn)
Gauge: 4" = 15 stitches and 15 rows of single crochet,
ch 21, sc in second chain from hook, sc across to last st. 3sc. Working down the opposite side of your chain stitches (unworked front loops) sc across to last st, 3sc, join with slst in first sc. (44)
Round 2: sc in each st across to the center stitch of first grouping of 3sc, 3sc in center st, sc across to center stitch in 2nd grouping, 3 sc, sc in last stitch and slst in first sc to join (48)
Note: This was the last join I made until I reached the decreases at far end of project. Working in rounds made for a smoother piece. You may join each round if you prefer and may need to if your changing colors. Or at least join the row before the color change to prevent jogging. I simple took note of which end my tail was on at the join and ended with tail in same position.
Round 3 -20 sc around. (48 ish)
for round 21 you will create opening by chaining 22 and skipping 22 stitches. This will leave an opening that extends ALMOST to the sides of project. continue rounds crocheting next round in ch.
Round 22 - 42 sc around.
Round 43: 21 sc, sc3tog (decrease), 21sc, sc3tog, slst to join (44)
Your decreasing the 3 stitches on the ends. If you dont have 48 sc either 1) hold the work flat and find center of both sides, mark, sctog the stitch before, st, and stitch after. 2) x=stitch count for final round. x/2 - 3 = number of stitches to sc before 3sctog.
Round 44: 19 sc, sc3tog, 19sc, sc3tog, slst to join (40) or **center of 3 sc tog st will be sctog of previous round**
Use your preferred method for closing the end. I sc 20 through both sides and FO. You could slst sides together or sew with a whip stitch.
Join yarn to gap made in middle of piece (20 skipped st/ 20 chains) round 21 stitch before first skipped st. 20 sc (across gap), slst in st after last skipped st. FO
Join yarn to round 22, (20 chains - you will be coming from opposite direction.) Consider you button placement and mark with piece of yarn (stitch marker) where your button loop should be. dc to first st marker, ch 12, slst in same dc, dc across to next marker and repeat button loop, dc across to end. FO
**This will give you an overlap so pak is held securely inside cover**
Handles (make 2)
ch 51, sc in second ch from hook and across, ch1, turn sl st in each sc across. FO
Sew handles to ends. **I made sure mine where sewn with hangover on the side with opening just to be sure there were no bumps or seems on other side. **
Attach your buttons or favorite closure and your done. I can't recommend Velcro. Velcro and crochet don't get along well. Fiber envy.
My finished items measurements:
11 1/2" x 6"
Rounds 1 - 20 5"
Rounds 21- 44 6"
Handles are 12 1/2" long and 1/2" wide
Buttons measured 1" across placed 1 1/2" from inside edge of round 21 + sc edging
Feel free to ask questions. I'll answer when I see them.
Little Extra bit - My mother is never happy with anything. I've spoken before of items I've made her that never see the light of day again. Example. I recently made an tiny stuffed apple with tail bookmark while trying out a pattern. My mother lost her bit of fluff she jams in books and I gave it to her. I saw her the next day drop the book. The stuffed ie. heavier then fluff bookmark fell out and lost her place. She crumbled and tossed aside the apple bookmark. Sooo as my mother has back/neck issues and frequently gets stiff and or sore I thought the goo pak cover was the holy grail of homemade gifts to share with my mother. The yarn was gifted to me from her because she is ALLERGIC to it, which I didn't know until I couldn't stop myself from asking why she was using a towel to hold her goo pak in place. Such is my life.
 | |
| crochet button closure |
 | |
| The 'skin' side. One solid flat expanse |
 | |
| My lovely goo |
I recommend using this pattern as a guide rather then set in stone directions. You could alter the design to fit any number of commercial gel packs or electric pads. The yarn I used was an old remnant of something between dk and worsted weight. The gauge is in the pattern but if your using Redheart #4 yarn you may have to go down a hook, depending on your tension or expect a slightly larger finished product. Not that much difference, but I'm giving exact measurements for my item. Just keep in mind no two projects will ever measure the same. I'd also like to say that I looked into heat transfer of materials. NOT direct heat as we all know acrylic melts. But thermal conductivity (Here is a chart if your curious) Air (gases) and insulation are low 0.035 - 0.024 while metals like aluminum are high 205.
Acrylic 0.2
Cotton 0.04
Cotton Wool 0.029
Wool, felt 0.07
So why does acrylic melt before cotton? Because it transfers heat faster. Annnnd it's a heating pad. So we want heat to easily move through it. Cleaning? Cotton is more absorbent so I think body oils (sweat) and stuff like Bengay with get in and stay in the piece. Where as acrylic with resist more stains. Am I worried that my heating cover will pill after repeated washings and look totally horrible? Um no. If when that happens I'll make another one. I was totally set to remake this in cotton until I looked into it. Everyone is so 'hot' to tell you certain things MUST be made in cotton. Make what you like and use what ya got.
Gel Pack Cover
H hook
worsted weight (acrylic! no really use what you like) yarn
2 buttons (or closure of your choice. my buttons were crochet from same yarn)
Gauge: 4" = 15 stitches and 15 rows of single crochet,
ch 21, sc in second chain from hook, sc across to last st. 3sc. Working down the opposite side of your chain stitches (unworked front loops) sc across to last st, 3sc, join with slst in first sc. (44)
Round 2: sc in each st across to the center stitch of first grouping of 3sc, 3sc in center st, sc across to center stitch in 2nd grouping, 3 sc, sc in last stitch and slst in first sc to join (48)
Note: This was the last join I made until I reached the decreases at far end of project. Working in rounds made for a smoother piece. You may join each round if you prefer and may need to if your changing colors. Or at least join the row before the color change to prevent jogging. I simple took note of which end my tail was on at the join and ended with tail in same position.
Round 3 -20 sc around. (48 ish)
for round 21 you will create opening by chaining 22 and skipping 22 stitches. This will leave an opening that extends ALMOST to the sides of project. continue rounds crocheting next round in ch.
Round 22 - 42 sc around.
Round 43: 21 sc, sc3tog (decrease), 21sc, sc3tog, slst to join (44)
Your decreasing the 3 stitches on the ends. If you dont have 48 sc either 1) hold the work flat and find center of both sides, mark, sctog the stitch before, st, and stitch after. 2) x=stitch count for final round. x/2 - 3 = number of stitches to sc before 3sctog.
Round 44: 19 sc, sc3tog, 19sc, sc3tog, slst to join (40) or **center of 3 sc tog st will be sctog of previous round**
Use your preferred method for closing the end. I sc 20 through both sides and FO. You could slst sides together or sew with a whip stitch.
Join yarn to gap made in middle of piece (20 skipped st/ 20 chains) round 21 stitch before first skipped st. 20 sc (across gap), slst in st after last skipped st. FO
Join yarn to round 22, (20 chains - you will be coming from opposite direction.) Consider you button placement and mark with piece of yarn (stitch marker) where your button loop should be. dc to first st marker, ch 12, slst in same dc, dc across to next marker and repeat button loop, dc across to end. FO
**This will give you an overlap so pak is held securely inside cover**
Handles (make 2)
ch 51, sc in second ch from hook and across, ch1, turn sl st in each sc across. FO
Sew handles to ends. **I made sure mine where sewn with hangover on the side with opening just to be sure there were no bumps or seems on other side. **
Attach your buttons or favorite closure and your done. I can't recommend Velcro. Velcro and crochet don't get along well. Fiber envy.
My finished items measurements:
11 1/2" x 6"
Rounds 1 - 20 5"
Rounds 21- 44 6"
Handles are 12 1/2" long and 1/2" wide
Buttons measured 1" across placed 1 1/2" from inside edge of round 21 + sc edging
Feel free to ask questions. I'll answer when I see them.
Little Extra bit - My mother is never happy with anything. I've spoken before of items I've made her that never see the light of day again. Example. I recently made an tiny stuffed apple with tail bookmark while trying out a pattern. My mother lost her bit of fluff she jams in books and I gave it to her. I saw her the next day drop the book. The stuffed ie. heavier then fluff bookmark fell out and lost her place. She crumbled and tossed aside the apple bookmark. Sooo as my mother has back/neck issues and frequently gets stiff and or sore I thought the goo pak cover was the holy grail of homemade gifts to share with my mother. The yarn was gifted to me from her because she is ALLERGIC to it, which I didn't know until I couldn't stop myself from asking why she was using a towel to hold her goo pak in place. Such is my life.
Crochet Convertible Cowl, Wristwarmers and Bag in Sunset
I made a second convertible cowl with a variegated yarn I bought with the shawl yarn. This one was sunset colors. (Marrakesh is the actual color on the label- Redheart) it's done in a wave pattern with scrap yarn in matching colors. I had wrist warmers all picked out to match the wave stitches but ended up frogging the one glove I made in favor of the V Stitch fingerless gloves pattern I made for the rainbow set.


 The wrist part actually came out quite loose as I altered the stitches I'd previously used. I am considering making a double chain, like the hat/cowl ties, and adding a few beads in a cinch at the wrist. Just to tie the designs together better.
And then I found a pattern I just had to try. The Solid Granny Bottom Bag. It's a written pattern and a video tutorial from Bobwilson123. I loved it. I will be making this again. I am undecided on a lining or not. Which means it doesn't have to have one, but would be even more useful with one.


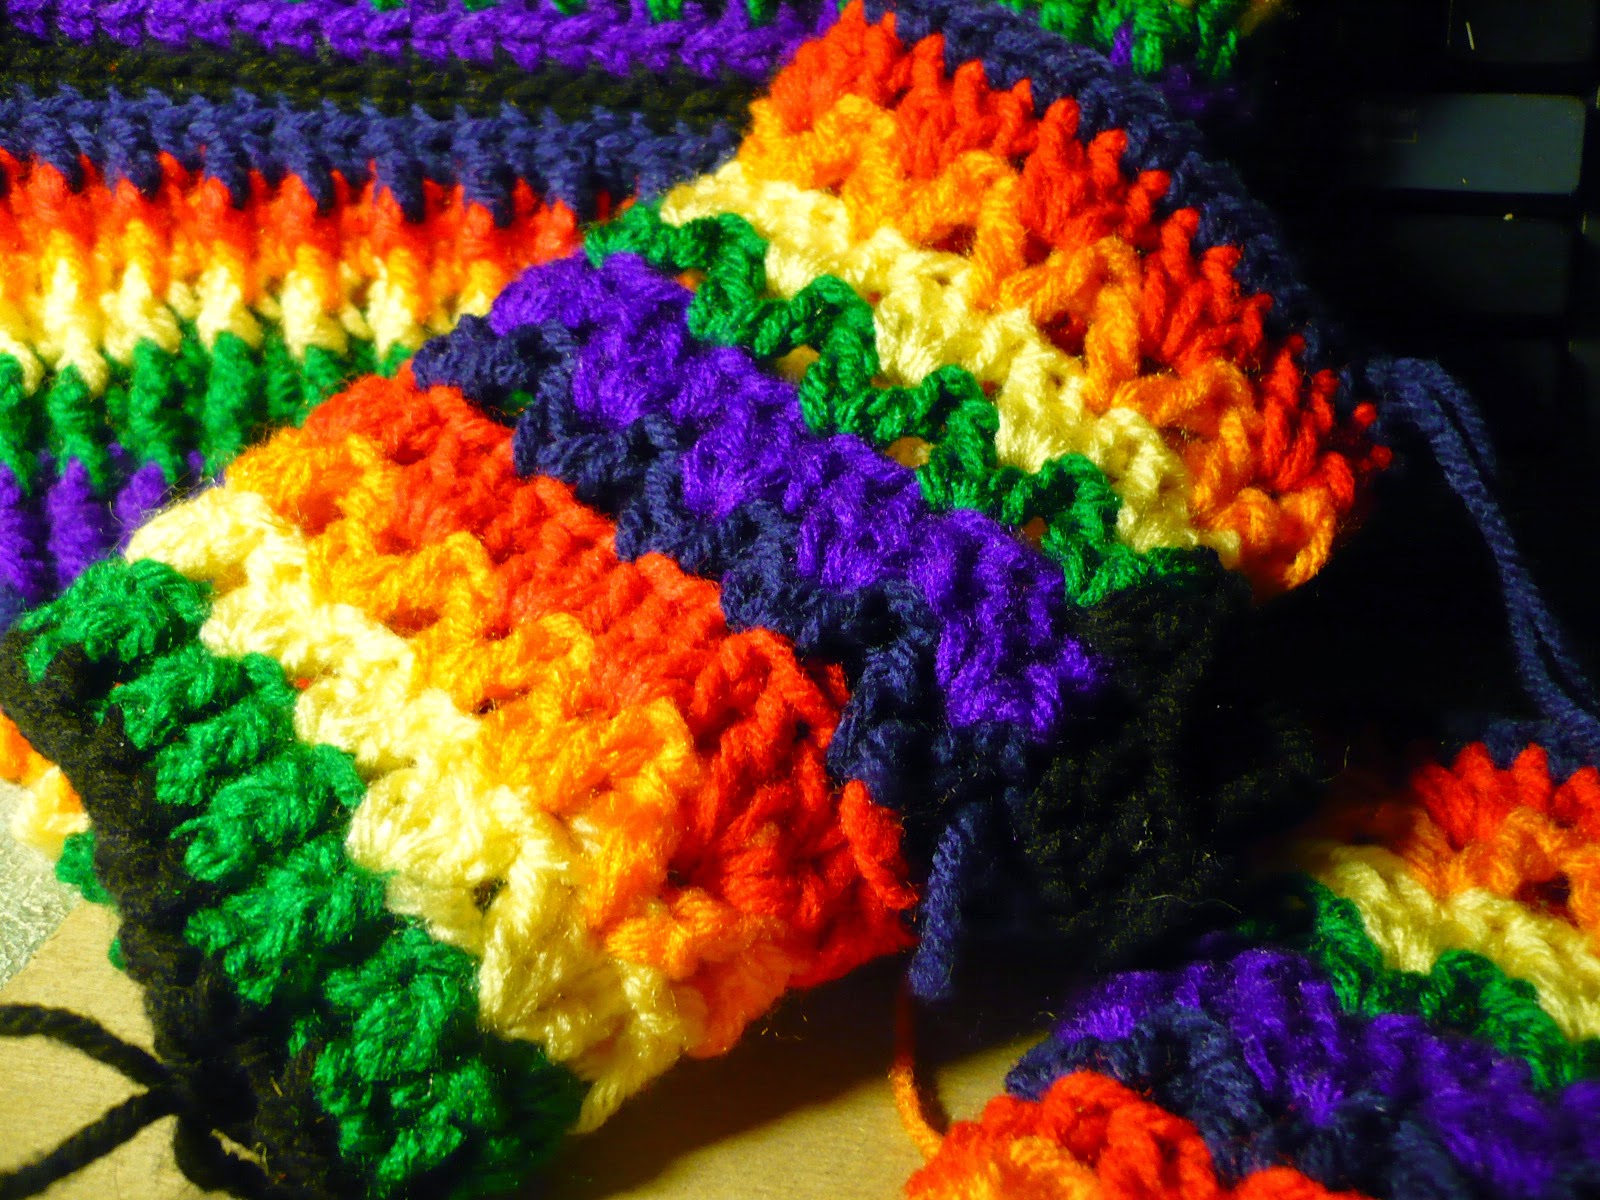
Normally this would be a whole lot of color and variation for me. But I just love these colors.
Ravelry Pattern Page for Convertible Cowl, Designers direct link to pattern site
Ravelry Pattern Page for V Stitch Fingerless Gloves, Designers direct link to pattern site
Ravelry Pattern Page for Solid Granny Bottom Bag, Designers direct link to pattern site
And then I found a pattern I just had to try. The Solid Granny Bottom Bag. It's a written pattern and a video tutorial from Bobwilson123. I loved it. I will be making this again. I am undecided on a lining or not. Which means it doesn't have to have one, but would be even more useful with one.
Normally this would be a whole lot of color and variation for me. But I just love these colors.
Ravelry Pattern Page for Convertible Cowl, Designers direct link to pattern site
Ravelry Pattern Page for V Stitch Fingerless Gloves, Designers direct link to pattern site
Ravelry Pattern Page for Solid Granny Bottom Bag, Designers direct link to pattern site
Hang to dry Crochet Bath puff and beach bag embellishment
This was actually a wip from a bit ago. Intended for my bath set but I couldn't see including a puff and a soap saver in the same set. So the shell set was conceived. This is a great design. I had a prior version that was kid confiscated because it was 'softer' then the mesh kind and still gave a good lather.


It's on my list to make a shell shaped facial scrubbie. I wanted to get the bag done first. I love the Ditty Bag pattern. I busted out my scrap bag once again and have been experimenting. I made a rainbow Ditty. I varied where the rows began to move That line around. The second scrap bag was sea and sand colors. I crossstitched a wave pattern on and some small embellishments. I searched and located a method to hide Those lines, sorta. I almost kept the beach bag for myself but I have finished another and I'm being picky with what I want on it.


My wip. Without the purple it doesnt pop so much but the greens and blues are better blended. Now I need to decorate it.
Wow, right. The line is almost none existent. The join to prevent the jog in color does leave a mark. It runs diagonal from the bottom right to upper left in the pic. Can you see it? Evil laughter. Yes the line is no more. Well enough anyway.
While the other bags finish at about 7"x 6 1/2" (48 stitches & 24+ rounds plus edging and handle)
I just had to make The Itty Bitty Ditty. 3 3/4" x 2 1/2" (24 st at last round and 9 rounds + edging and handle) Isn't it cute???
 They would be great for advent calendars or just to hang on the tree with a special, and tiny, treat or present inside.
A few ideals for my beach bag:
I could not find an applique for a wave anywhere. So I made one. Worsted weight & g hook verses 6 strand thread and a 2.00 mm

Dragon Fly!!!!!! enough said.

Ravelry Pattern Page for Bath Puff, Designers direct link to pattern site
Ravelry Pattern Page for Ditty Bag, Designers direct link to pattern site
Designers direct link to pattern site, Dragon Fly Applique
It's on my list to make a shell shaped facial scrubbie. I wanted to get the bag done first. I love the Ditty Bag pattern. I busted out my scrap bag once again and have been experimenting. I made a rainbow Ditty. I varied where the rows began to move That line around. The second scrap bag was sea and sand colors. I crossstitched a wave pattern on and some small embellishments. I searched and located a method to hide Those lines, sorta. I almost kept the beach bag for myself but I have finished another and I'm being picky with what I want on it.
 | ||
| THAT line, sigh. |
 | |
| Better Line |
 | |
| Second Beach bag |
 | |||
| Can you see the Line???? |
My wip. Without the purple it doesnt pop so much but the greens and blues are better blended. Now I need to decorate it.
Wow, right. The line is almost none existent. The join to prevent the jog in color does leave a mark. It runs diagonal from the bottom right to upper left in the pic. Can you see it? Evil laughter. Yes the line is no more. Well enough anyway.
While the other bags finish at about 7"x 6 1/2" (48 stitches & 24+ rounds plus edging and handle)
I just had to make The Itty Bitty Ditty. 3 3/4" x 2 1/2" (24 st at last round and 9 rounds + edging and handle) Isn't it cute???
A few ideals for my beach bag:
I could not find an applique for a wave anywhere. So I made one. Worsted weight & g hook verses 6 strand thread and a 2.00 mm
Dragon Fly!!!!!! enough said.
Ravelry Pattern Page for Bath Puff, Designers direct link to pattern site
Ravelry Pattern Page for Ditty Bag, Designers direct link to pattern site
Designers direct link to pattern site, Dragon Fly Applique
Crochet Turtle Masks of the teenage variety
My youngest was off of school and we decided to hit the cheap movies for a matinee of the Newest TMNT Movie. 3D makes me nauseous btw. The movie was OK. To make it a bit more special I whipped out some masks the night before. They have loops on the end to go over the 3D glasses they hand out. My oldest was supposed to go but decided to nap instead while the house was empty. The mask kept the cheap glasses from fogging up on me to my delight. We wore our masks proudly while watching the show. I heard several kids ask parents where their masks were. My son smiled and I got a warm fuzzy for another successful yarn adventure.


 My son took the orange mask. I love orange. So I wore the blue.
Crochet Seahorse Applique
While searching for embellishments for my beach bath bag of goodies I had to try this pattern for a seahorse applique. In thread it turned out larger then I could use. But it was too cool to frog. I'll find something to do with it.

Designers direct link to pattern site
Designers direct link to pattern site
Crochet Christmas Star

Still requires stuffing. Pretty cute. It's only supposed to be 5 points. I made the variegated triangle and decided I didn't like it. The yarn was thinner and the sizing was off. But I was obviously more tired then I thought. Because I sewed one side together and was on the second before I had the aha moment. It wasn't worth ripping out the sewing. I placed the loop on top of my error and hope the weight will balance that slightly smaller piece.
Ravelry pattern page for Star Making - a tutorial
Rainbow Yorkville Cowl + wrist warmers
Have you heard me rave about the cowl I made for a teachers gift. The Yorkville Cowl is fun to make. It's slightly addictive. I find myself digging through scraps to make them.

Pastel colors from past baby projects. It's a bit larger. Wider was good. But I should have kept it a bit shorter.


Rich rainbow color and lots n lots of tails.


Wrist warmers to match. And more tails
Ravelry Pattern Page for Yorkville Cowl, Designers direct link to pattern site
Ravelry Pattern Page for V Stitch fingerless gloves, Designers direct link to pattern site
Pastel colors from past baby projects. It's a bit larger. Wider was good. But I should have kept it a bit shorter.
Rich rainbow color and lots n lots of tails.
Wrist warmers to match. And more tails
Ravelry Pattern Page for Yorkville Cowl, Designers direct link to pattern site
Ravelry Pattern Page for V Stitch fingerless gloves, Designers direct link to pattern site
Crochet summer skull cap
I made this for my son. It was a test of the design to see if he would wear it with some bits of variegated Redheart yarn. It's huge...it fits over my bun+. He said it was too small. :(
 It now lives in my purse. An emergency hat? Well you never know.
Sheregal Project page on Ravelry
Ravelry Pattern Page for Adult Summer Skull Cap
Sheregal Project page on Ravelry
Ravelry Pattern Page for Adult Summer Skull Cap
Crochet Convertable Cowl - Hat with ponytail hole
I love this cowl....hat... YES! It's both. It's recently gotten quite chilly in my corner of the world. This item will keep my neck warm and stiffy free (yeah I said it) when my hellion son demands the window be left open because he's HOT.

 I realized I purchased too many balls of yarn for the shawl I was working on. The yarn is beautiful. Waterworks by Redheart . So I whipped up a little present for myself. The design is based on a pattern from April Daven. She creates some fantastic stuff. Each section of my project is a different stitch. There is a lattice cross over, brick stitch and a mesh stitch as well as some plain old dc. I was in one of those I've got projects going all over but I don't feel like working on any of them funks.
 I even added some pony beads and tassels to the ties. I have long hair for the first time in my life really. More then just past my shoulders anyway. It's sometimes interesting to manage. This hat will let me not worry about my hair making my hat bulge or fit strangely over a scrunchie. I can't live without my scrunchie!
Sheregal Project page on Ravelry
Ravelry Pattern Page for Convertible Hat, Designers direct link to pattern site
Sheregal Project page on Ravelry
Ravelry Pattern Page for Convertible Hat, Designers direct link to pattern site
Crochet small Purses


The petals are made one at a time, though linked. Then you sew the sides to cinch together.
 The second bag is unfinished because I can't decide if I should line it
or not. It's a decent size for an evening bag and I have black sparkly
fabric that would look great. I hate to hand sew and I'll leave it until I finish my Celtic Tote and perhaps make a lining when I drag the sewing machine out.
The second bag is unfinished because I can't decide if I should line it
or not. It's a decent size for an evening bag and I have black sparkly
fabric that would look great. I hate to hand sew and I'll leave it until I finish my Celtic Tote and perhaps make a lining when I drag the sewing machine out. | |
| Side of bag |
 | |
| Bottom of bag |
I did make a few changes. I altered the stitch counts in the bottom of the bag to continue the pattern around the sides without a break. Not to mention to make the entire bag smaller
Sheregal Project page on Ravelry
Ravelry Pattern Page for Nordstrom crochet hobo bag , Designers direct link to pattern site
Ravelry Pattern Page for 6 petal flower
Crochet Soap Saver Bag, 3D rose, round & heart facial puff
Project catch up time. My left arm is still a bit numb but I can feel deadlines approaching and I'll never get everything I wanted done if I don't get on with it.
As part of the Bath Sets I'm putting together I made this soap saver. The name brings to mind piles of bits of left over soap. That and some plastic molding pot my mom used to drop soap bits in to press them into some penny pinching Frankenstein soap. I like this much better. Slide in a full bar, which I'll include in my sets, and use the 'soap saver' to wash with. The soap stays inside and you use it till the last bit is nothing but suds. Rinse it and toss it in the washing machine to start over on a new bar.


I've been considering some plainer scrubbies as well. Working from the pattern for the white puff I made some changes to get a heart shape. I have a terrible habit of leaving tails until I'm totally finished with a project. Just in case something doesn't come out as planned or I scrape the ideal it's easier to frog the item then waste the yarn. Anyway the heart would look more heart like if that tail was fastened off and tucked away. I'm not sure if it's going to make it into the rose set yet. Because, well it's a heart. I will be working on a shell version for the other set though and I'll post the patterns when they are complete.

Sheregal Project page on Ravelry
Ravelry Pattern Page for Soap Saver, Designers direct link to pattern site, Moogly
Ravelry Pattern Page for Facial Puff, Designers direct link to pattern site
Designers direct link to pattern tutorial on You Tube for Easy Crochet 3D Flower by Yolanda Soto Lopez
Subscribe to:
Posts (Atom)